✓ Royal Mail Authorised Inspector since 2008 | Trading since 2005


Comms Link Setup
Franking Machine Support · Comms Link Setup
Step-by-step instructions for connecting your Comms Link device to your franking machine using a wired internet connection.
Which franking machines are compatible with the Comms Link device?
Mailcoms machines: Mailstart, Mailstart+, Mailsend Lite, Parcelsend Lite, Mailbase Lite, Mailbase, Mailbase Pro, Mailbase+ and Mailbase Speed.
Pitney Bowes machines: DM60, DM100i, DM110i, DM160i, DM220i, DM300M and DM400M.
What is included in the Comms Link box?
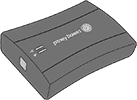
Comms Link
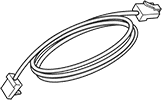
Internet cable (wired option only)
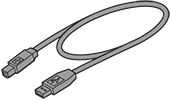
USB cable
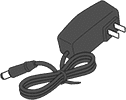
Power adapter
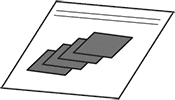
Fastener strips

Instructions
How do I connect the Comms Link device to my franking machine?
Installation takes approximately 10 minutes. You will need an available internet socket (or router port) and a power outlet near your franking machine.
- Step 1 — Connect the Comms Link to your network
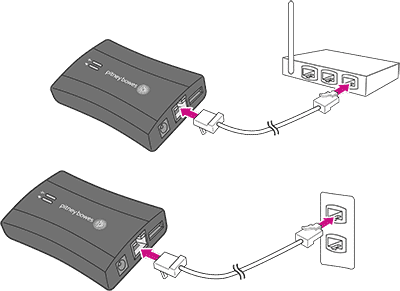
Connect the Comms Link device to either a wall internet socket or router using the included internet cable. The lights on the device will remain off at this stage.
- Step 2 — Connect the power adapter
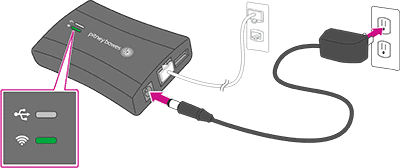
Plug the power adapter into the Comms Link device and into a power outlet. The device lights will change colour. Once connected to the internet, the Network Connectivity light will blink green. The Ethernet port light will show green for a successful connection and yellow for network activity.
- Step 3 — Connect the Comms Link to your franking machine

Plug the USB cable into the back of your franking machine and into the Comms Link device. The device lights will change colour again. Once a network connection is established, the USB Connectivity LED will turn green and the Network Connectivity LED will blink green.
- Step 4 — Attach the Comms Link to your meter (optional)

Use the included adhesive fastener strips to attach the Comms Link device securely to the side of your franking machine.
Your meter is now connected. You can now refill postage and download rate updates directly through the Comms Link device.
Comms Link Setup – Frequently Asked Questions
How long does Comms Link setup take?
Approximately 10 minutes. You need an available internet socket (or router port) and a nearby power outlet.
What do the lights on the Comms Link device mean?
Once connected: the Network Connectivity light blinks green (internet connection established) and the USB Connectivity LED turns solid green (franking machine connected). The Ethernet port shows green for connection status and yellow for network activity.
Can I use the Comms Link device with a Wi-Fi connection?
The Comms Link connects via a wired Ethernet cable. A wireless option may be available — contact Mailcoms for advice on your specific setup.
Which Mailcoms machines work with the Comms Link?
Mailstart, Mailstart+, Mailsend Lite, Parcelsend Lite, Mailbase Lite, Mailbase, Mailbase Pro, Mailbase+ and Mailbase Speed.
Still having trouble setting up your Comms Link?
Our technical team are Royal Mail Authorised Inspectors and fully qualified franking machine engineers. Call us on 01543 572 776 – Mon–Fri 9:00 to 17:00.