If you are seeing an error message of “Waste Tank Nearly Full” on your franking machine, please follow the steps below.
1. Select Clear & Continue.
2. When the message changes to “Waste Tank Full”, follow the steps below.
If you are seeing an error message of “Waste Tank Full” on your franking machine, it may not print. This is caused from excess ink when the franking machine cleans the printhead and from heavy use will eventually fill the ink waste tank in the franking machine.
Follow these steps to resolve the message waste tank full:
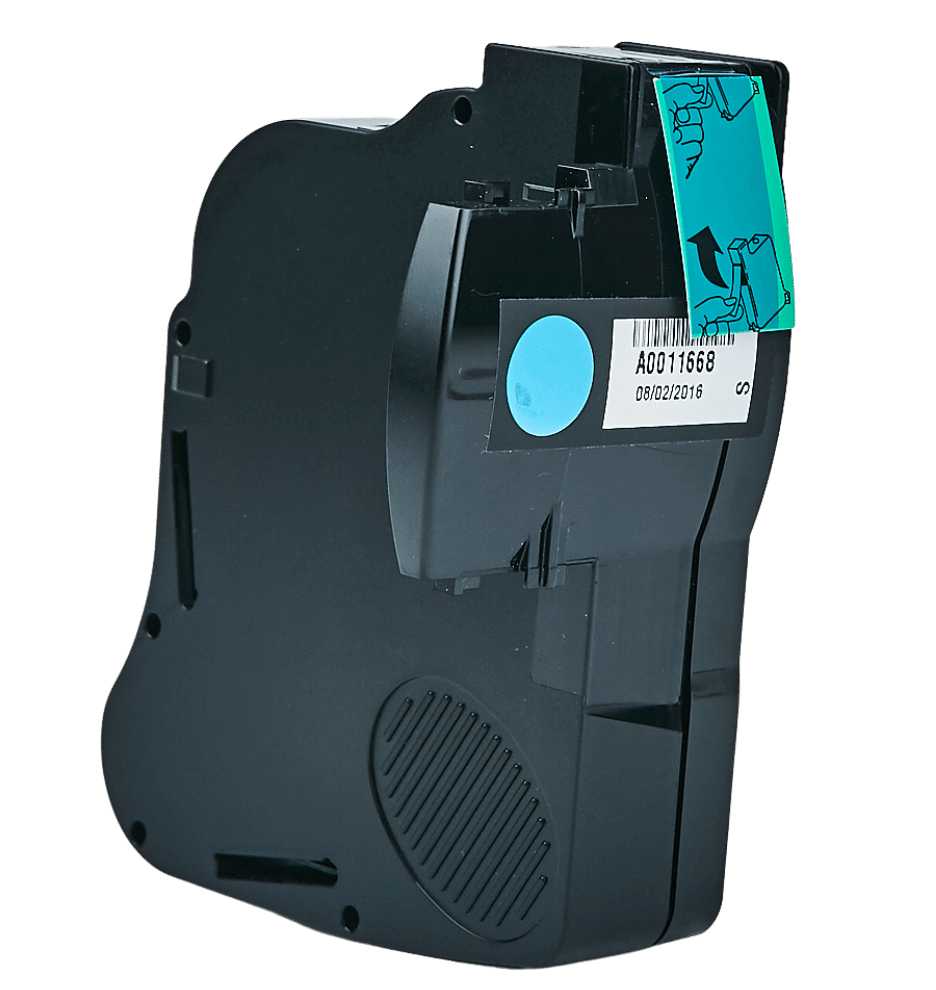
1. Remove the ink tray from the right side of the franking machine.
2. Check that the waste foam contains less than 50% ink. If this is the case, flip the waste foam 180 degrees so the white side of the foam is facing upwards. If the waste foam contains more than 50% ink, leave the waste foam in place. You can clear the message to continue using your franking machine. However, once you clear the message you will need to contact Technical Support to order a replacement waste foam.
3. Replace the ink tray into the machine.
4. Select “Options”.
5. Press “Page Down” twice.
6. Select “Advanced Features”.
7. Select “Maintenance Mode”.
8. Select “Printer Maintenance”.
9. Press “Page Down”.
10. Select “Reset Waste Tank”.
11. Press “Yes/Enter” when “Reset the Waste Ink Tank flag” appears.
12. Enter the code “9287”.
13. Select “Continue”.
14. Select “Press to Restart” when “Waste Ink Tank Flag is Reset” appears.
15. Wait a few minutes while the franking machine initialises. You return to the Home screen.
Watch this video to learn how to check and turn the waste pad in your franking machine.
1. Pull out the tray located at the right-hand side of the machine towards the back.
2. Inspect the pad to see if it is full.
3. If the opposite corner is clean the pad can be turned and reinserted.
4. If you have been sent a new pad, remove the inner tray, and replace.
5. Once done push the tray back into place.